Introduction:
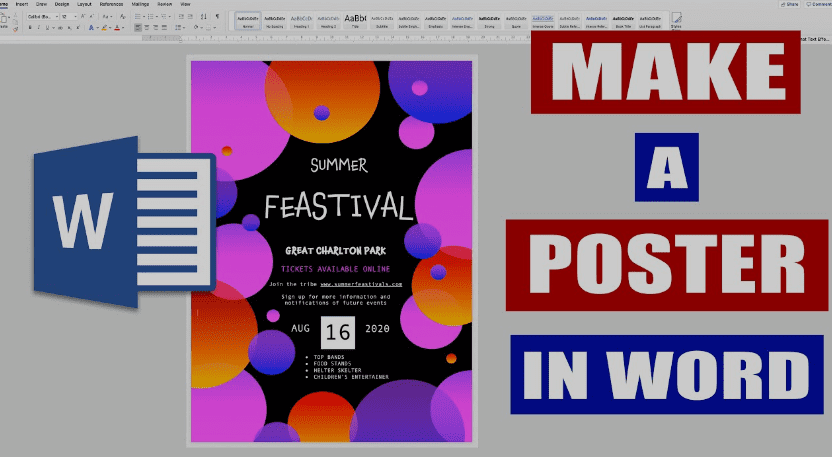
When it comes to designing posters, Microsoft Word might not be the first tool that comes to mind. However, this versatile software can surprise you with its potential for creating visually appealing and professional-looking posters. At Poster Printing London, we’re all about turning your creative ideas into stunning visual pieces. In this guide, we’ll walk you through the step-by-step process of creating eye-catching posters using Microsoft Word, proving that you don’t need fancy design software to make an impact.
- Choosing the Right Dimensions:
Start by opening a new Word document and selecting the appropriate poster size. Word offers a range of preset sizes, or you can customize your dimensions based on your project’s requirements. - Setting the Page Layout:
Access the Page Layout tab and adjust margins, orientation (portrait or landscape), and columns to match your poster’s design. - Inserting Images and Graphics:
Add visual elements to your poster by inserting images, logos, or icons. Utilize Word’s image tools to adjust size, position, and text wrapping. Remember, high-resolution images ensure a crisp and professional finish. - Creating Text Boxes:
Text is essential for conveying your message. Insert text boxes for titles, subtitles, and content. Experiment with Word’s font styles, sizes, and colors to achieve the desired look. - Formatting and Styling:
Explore Word’s formatting options to add emphasis to your text. Utilize bold, italics, underline, and different font sizes to create hierarchy and improve readability. - Color and Background:
Enhance your poster’s visual appeal by experimenting with background colors or gradients. Ensure your text remains legible against the chosen background. - Shapes and Borders:
Incorporate shapes and borders to add visual interest. Word offers a variety of shapes that you can customize with colors, outlines, and effects. - Alignment and Balance:
Maintain a sense of order and balance by aligning your elements properly. Use Word’s alignment tools to ensure everything lines up neatly. - Proofreading and Reviewing:
Before finalizing your poster, thoroughly proofread your text and review the overall design. Make sure there are no typos or inconsistencies. - Printing Your Poster:
When your poster is ready, navigate to the File menu, select Print, and choose the appropriate print settings. Opt for high-quality paper or consider professional printing services for the best results.
Conclusion:
Creating posters on Microsoft Word might not be the conventional approach, but it’s a powerful method for designing impactful visual content. Whether it’s for events, promotions, or personal projects, Word’s features allow you to craft posters that capture attention and convey your message effectively. Just as Poster Printing London transforms ideas into visually stunning prints, this guide demonstrates that you can turn your vision into eye-catching posters using a tool as accessible as Microsoft Word.
