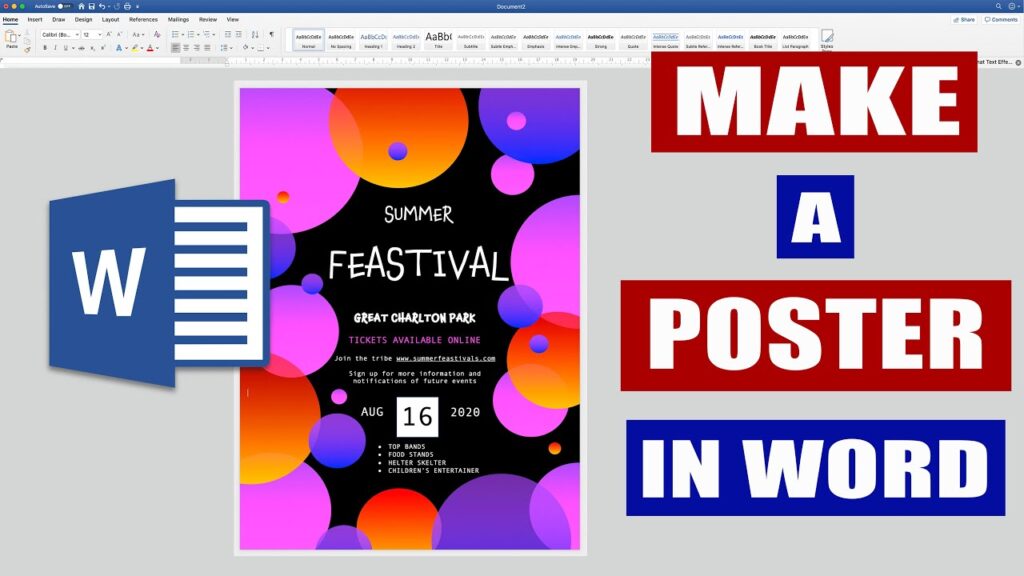
Poster designs can capture attention and effectively convey information in a visually appealing manner. If you’re looking to create a stunning poster using Microsoft Word, you’re in the right place. In this article, we’ll provide you with a comprehensive step-by-step guide on how to make a professional-looking poster using the versatile tools and features available in Word. With our helpful instructions, you’ll be able to unleash your creativity and produce impressive posters for any occasion.
Step 1: Setting Up Your Document:
1. Open Microsoft Word and create a new document.
2. Click on the “Page Layout” tab and select “Size” from the “Page Setup” group.
3. Choose the desired poster size. Consider standard sizes such as A3 (11.7″ x 16.5″) or customize the dimensions according to your preference.
Step 2: Choosing a Template or Design:
1. Explore the built-in templates available in Word by clicking on the “Insert” tab and selecting “Templates” from the “Illustrations” group.
2. Browse through the template library and select a design that suits your poster’s purpose.
3. Customize the template by adding your own text, images, and colours.
Step 3: Adding Text and Graphics:
1. Use the “Text Box” feature from the “Insert” tab to add text to your poster. You can choose from a variety of fonts, sizes, and formatting options.
2. To insert images or graphics, click on the “Insert” tab and select “Pictures” from the “Illustrations” group. Choose an image from your computer or explore online image resources for suitable visuals.
3. Position and resize text boxes and images to achieve the desired layout. Use the alignment and arrangement tools available in Word to arrange the elements neatly.
Step 4: Enhancing the Design:
1. Experiment with various formatting options to make your poster visually appealing. Adjust font colours, add shadows, or apply text effects from the “Font” group in the “Home” tab.
2. Utilize Word’s shape and drawing tools to create visually appealing icons, arrows, or other graphic elements that complement your poster’s message.
3. Incorporate high-resolution images and vibrant colours to make your poster visually striking.
Step 5: Review and Print:
1. Proofread your poster to ensure there are no typos or errors in the content.
2. Save your document and preview it to verify the overall appearance.
3. When you’re satisfied with the design, select “Print” from the “File” tab. Adjust print settings, such as paper size and quality, and choose the appropriate printer.
4. For professional poster printing services in London, consider trusted print providers like Poster Printing London. They offer high-quality printing options to bring your digital design to life.
If you need high quality poster printing service London then you can consider 24 hour Poster Printing London. Here you can get high quality poster which can be printed same day along with delivery at the same time with an affordable price range.
Conclusion:
Creating an eye-catching poster in Microsoft Word is achievable with a bit of creativity and the right tools. By following this step-by-step guide, you can design visually appealing posters for various purposes. Remember to explore the features and templates available in Word, customize your design, and pay attention to the layout, typography, and visual elements. For superior printing results, consider reputable print shops such as Poster Printing London, ensuring your poster stands out and leaves a lasting impression.
